
I’m currently trying to start a 3D print side hustle for print on demand jewelry. You can read more about that here:
In this article, I’ll go over my latest order, learnings so far and what I think is necessary to make this side hustle work.
What I’ve done so far for my new 3D Print Side Hustle
In the last few months, I 3D modeled and ordered two of my jewelry designs in brass. I used brass because it’s the most affordable of the materials that share properties with the precious metals I’d like to use for the final product. The two brass pieces I received showed me that the idea of print on demand jewelry as a whole is valid, but they were not sellable quality yet.
For my first order, I selected “polished brass” as a finish for my jewelry pieces, and this was the result:
As you can see in the image, inaccessible areas look very scratchy, and the jewelry piece clearly doesn’t look professional enough to sell.
If you want to know more details about my first test order and how I created the 3D models, you can read a detailed report here: I Tried 3D Modeling Jewelry With Blender and Ordered It 3D Printed in Brass
What I learned from my first 3D printed jewelry test order
The two pieces in my test order clearly showed that if I want my jewelry to be nicely polished, then the result will only be good if all areas that need polishing are easily accessible.
Results for materials might vary. For silver, which was the intended material for the finished products, Shapeways offers a “fine detail polished” finish.
However, I doubt I will get much better results and it adds quite some extra cost, so here’s a different plan.
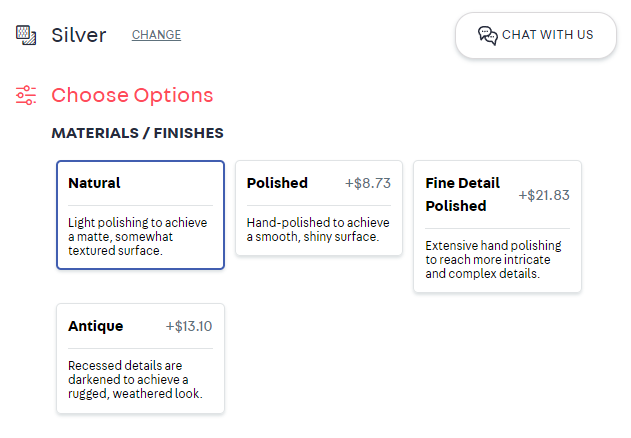
Starting a 3D print side hustle requires some flexibility
To solve the problem of uneven polishing, I wanted to switch to a finish that doesn’t require polishing inaccessible areas. You can get that with antique silver finish. With that process, the silver piece is blackened and then well-reachable areas are polished, highlighting details. It’s a very common treatment for commercially available silver pieces, as it helps with the definition of the shape and details. I thought that the darkened areas will look just fine as the black will be hiding any unevenness.
To test my theory, I went ahead and ordered the smaller one of the pieces in antique silver.
I also wanted to order from a different 3D printing service, just to try all the ones that offer the option to open a shop and dropship your products. I had already tried Shapeways, this time I tried my other favorite option: Shop3D.
Ordering your own model at Shop3D is harder than you would think
At my first 3D printing service, Shapeways, I had no issues finding the option to order my 3D model. It seems Shop3D is more focused on the shop managing part of their offer. I had to contact support in their website’s live chat to ask if I can order my uploaded models without opening a shop first. I guess the live chat was “live” during the day in a different time zone. But I received help some hours later, including some helpful screenshots.
It really seems to take that long to produce metal cast pieces
After I managed to get my 3D model into the shopping cart, ordering was straightforward. At the end of checkout, Shop3D promised delivery for June 22. At that time, that was a good 5 weeks in the future. Shapeways had a similar delivery time.
Exactly 4 weeks later, I received my order. 4 weeks was still ahead of the promised 5 weeks delivery time, but still, 4 weeks is a lot.
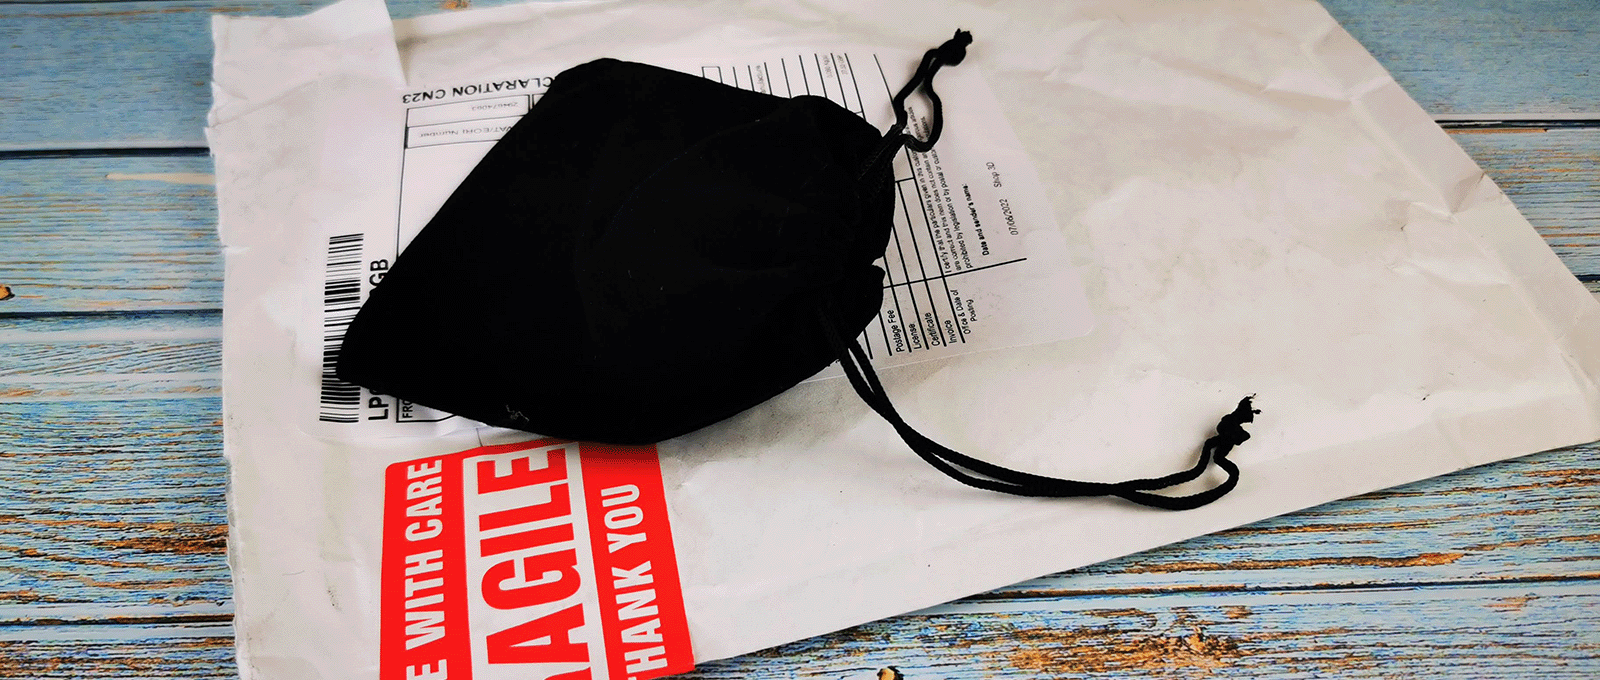
My order arrived in a plain padded envelope. The silver pendant was wrapped in white silk paper and put in a default black velvet jewelry bag.
Analyzing the delivered 3D printed silver pendant
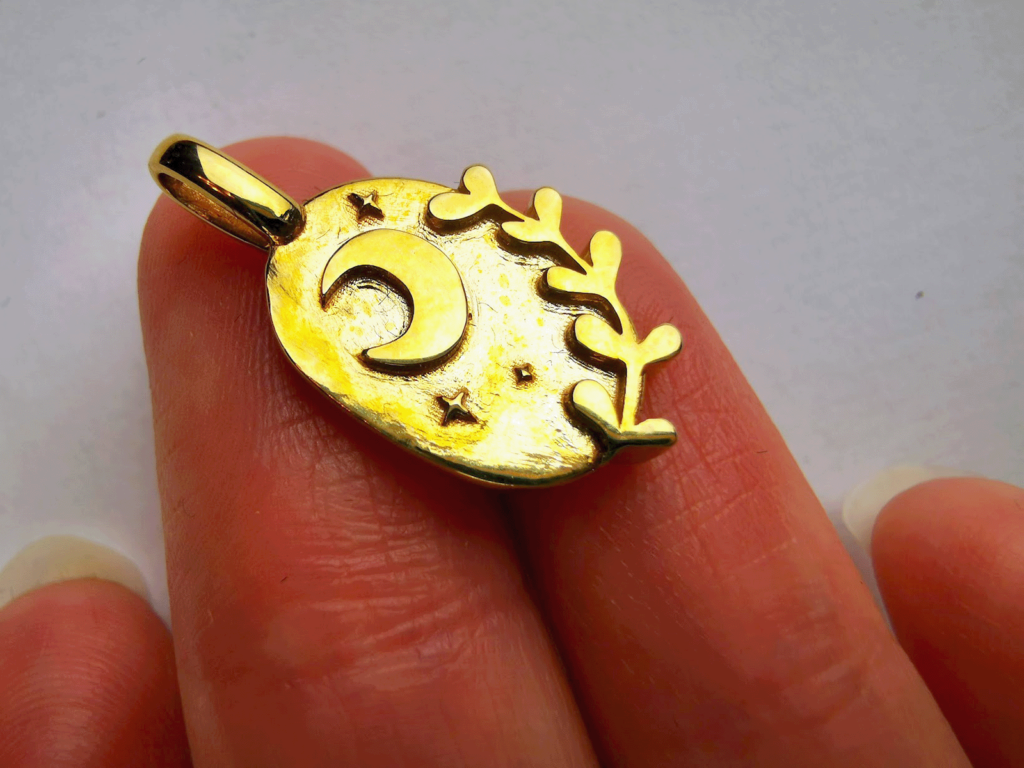
Let’s get to the really interesting part: Here’s the jewelry piece I received. Keep in mind that the photos show much more detail than you would see in real life, due to the very small size of the pendant (22mm x 11mm/0.45in x 0.87in).

The pendant itself looked great at first glance; the black background makes the details stand out in a way that beats the one-colored polish of the brass piece.
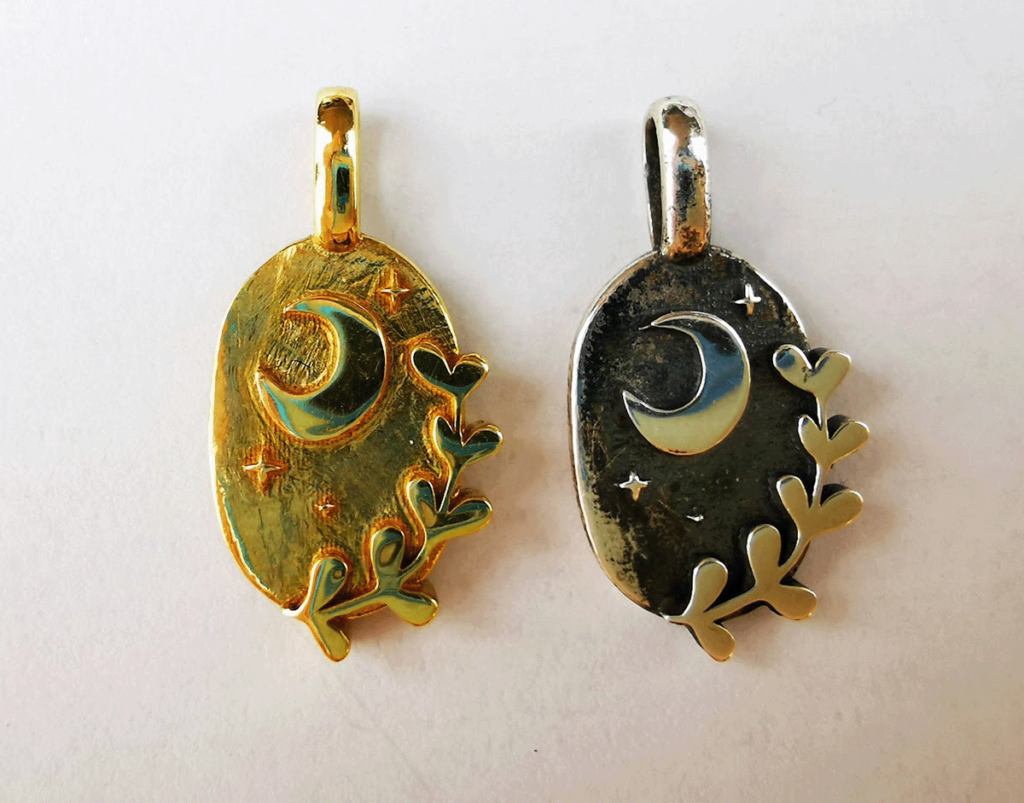
But while some areas of the brass piece were too inaccessible for polishing, now some areas were too accessible. The pendant would look a lot nicer if the whole “background” would be darkened evenly. As it is, you can see that a bit of darkened area has been polished away on the lower left of the pendant.

In the macro photoshoots, you also see some scratches on the darkened surface (you don’t see those when just looking at the pendant). The scratches probably come from trying to properly polish the small stars. What I learn from these flaws is that details probably need to stick out far enough and preferably be flat. That way they can be polished “flat” without having to vary tool angles and in the process scratch areas that should stay darkened.
How to create a production-ready print on demand jewelry piece
I imagine the whole process of metal casting and finish is done as efficiently as possible. Time is money, and the manual work done by the 3D printing services actually doesn’t cost much.
The person doing the finish maybe doesn’t have a good eye for what would look good for the design of the jewelry piece, or doesn’t understand how I imagined it.
I have to create a jewelry design that will provide a fool-proof quick polishing job anyone could do.
Limiting the options of how a piece can be polished is also required for another reason. If the jewelry pieces should look the same with every order, there can be no room for interpretation. The required finish needs to be the only one that’s reasonably possible to do. I will take photos from my final test order, and the shipped product needs to look the same.
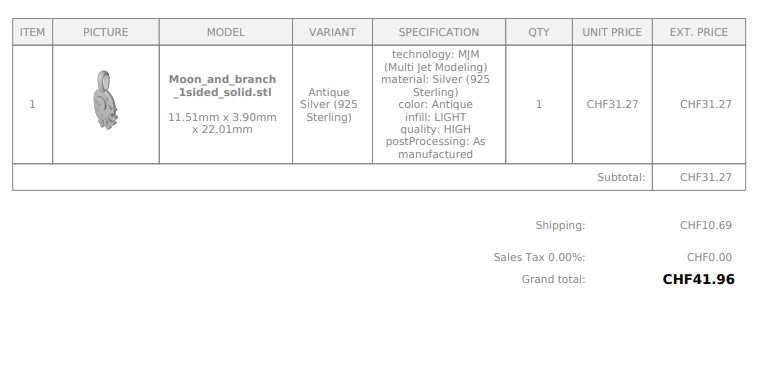
How much did it cost me to have my design cast in antique silver?
While the brass piece from the first order cost less than $20, the silver piece set me back $31. With about $11, shipping to Switzerland is very reasonable compared to Shapeways’ $34. My order total was about $43, and so far I did not have to pay any import taxes.
Can this 3D print side hustle work?
The results from my test orders and encouraging feedback still make me believe that selling print on demand jewelry is something I can make work.
There are still more experiments on my to do list. I’m almost ready to order some black jewelry. Also, I’m currently deciding on a jewelry design with interlocking or enclosed parts. Stay tuned for more updates.
Let me know in the comments what you think of my latest test order, I always appreciate your thoughts!


Leave a Comment